
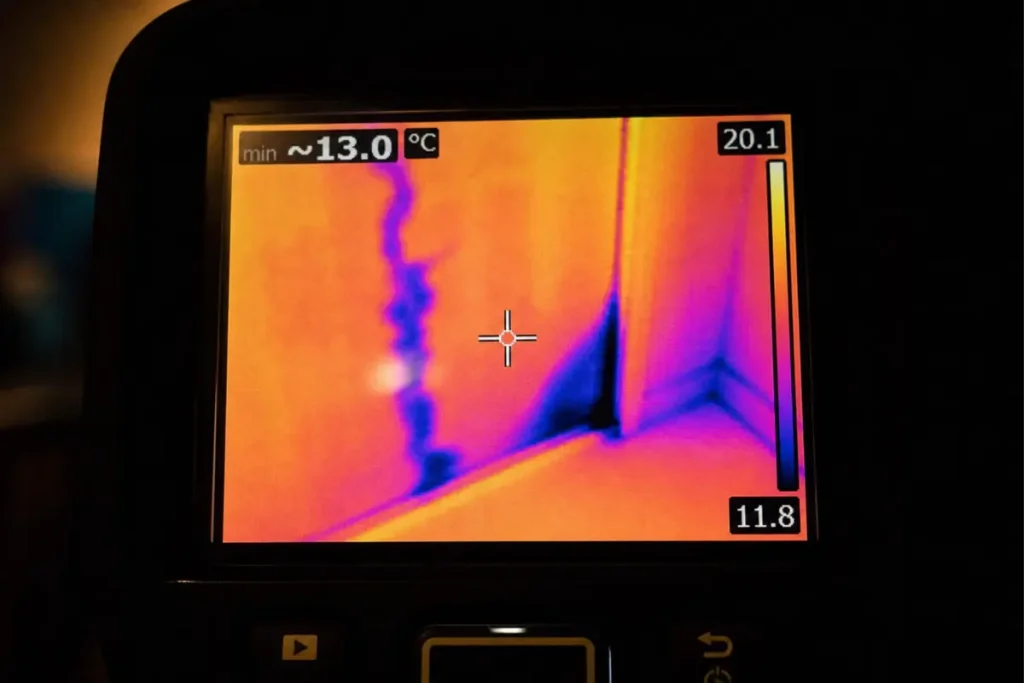
If you’re staring at a stain, a musty wall, or a ceiling spot that keeps coming back, thermal camera leak detection can help you find hidden wet without cutting random holes first. Used the right way, it gives you a faster, cleaner way to narrow down where moisture may be hiding, and just as importantly, where it probably isn’t. For professional help, contact Bear Restoration’s water damage restoration team.
What Thermal Camera Leak Detection Can, and Can’t, Show You in a Louisville Property
Thermal cameras are useful because they do not actually see water. They see temperature differences on the surface of a wall, ceiling, or floor. That matters. Thermal imaging cameras can help find hidden water and moisture issues in buildings without destructive testing, even though the cameras cannot directly “see” moisture inside walls. Instead, they show patterns caused by evaporation, heat transfer, and damp materials.
That makes them a strong first-pass tool for Louisville homes and small commercial buildings, especially when you’re dealing with plaster walls in Old Louisville, mixed insulation in mid-century ranches, or finished basements in the East End. You can cover a lot of square footage quickly. In industrial testing, thermal systems paired with analytics have shown impressive precision, including 90.8% precision, 89.9% recall, and 96.0% mAP in one thermal-camera leak detection experiment. Residential moisture hunting is messier than a controlled dataset, but the takeaway is still useful: thermal imaging is very good at spotting meaningful anomalies fast.
The catch is that a thermal camera gives you clues, not proof. A cold patch might be wet drywall. It might also be an air leak, missing insulation, a duct, or yesterday’s sunshine still affecting the wall. Good news, though, this is easier than it sounds once you know what patterns to trust and how to confirm them.
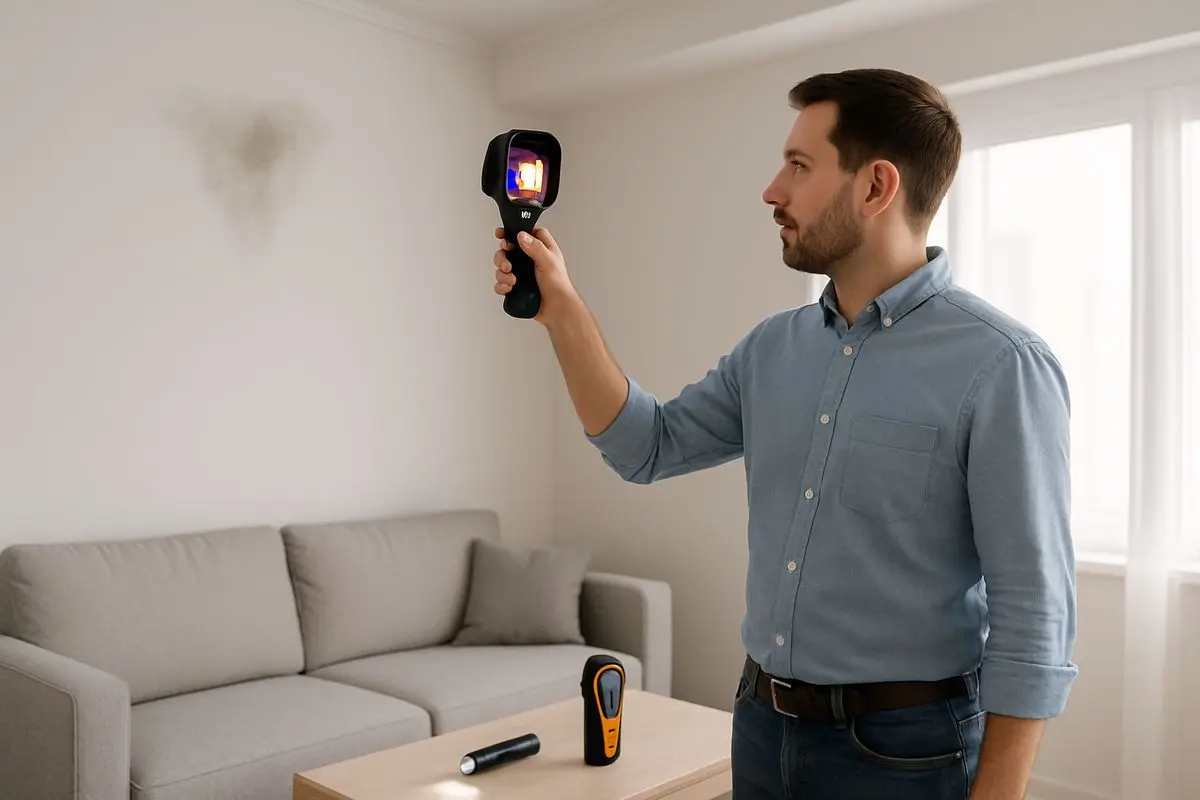
What You’ll Need Before You Start Scanning
A decent scan starts before you turn the camera on. You need the right tool, a way to verify what you see, and conditions that are stable enough to produce a readable image.
DIY checks make sense when you have a small suspected plumbing leak, a stain that is not actively dripping, or a room you can inspect safely from the floor. If the leak involves sewage, electrical risk, a sagging ceiling, a storm-damaged roof, or a tenant-occupied unit where timing matters, it usually makes more sense to bring in a trained restoration or leak detection pro early. That can save you from opening the wrong area and creating a bigger insurance headache.
A Thermal Camera With Enough Detail to Spot Subtle Moisture Patterns
Camera quality matters more than most people expect. For moisture work, a thermal camera with 240×180 resolution or better is a good baseline, and thermal sensitivity of 0.05°C or lower helps you catch the small differences common in damp building materials. FLIR also notes that 30 mK sensitivity is well suited to moisture applications.
Lower-cost smartphone attachments can still be useful. They’re fine for obvious anomalies around bathrooms, kitchen sink bases, or a basement wall after rain. But if the leak is faint, intermittent, or buried behind older plaster and lath, cheaper cameras may miss it. That’s where professional-grade imaging earns its keep.
A Moisture Meter, Flashlight, and Notes or Photos for Confirmation
Thermal imaging works best as a first-pass search tool. The standard recommendation is to confirm thermal findings with a moisture meter, because a suspicious temperature pattern does not guarantee water is present.
A flashlight helps with low-angle visual checks for bubbling paint, tiny cracks, rust marks, swollen trim, and sheen differences on drywall. Photos and notes matter too, especially if you may need to show a plumber, roofer, restoration contractor, or insurer what changed and when. Thermal image plus moisture reading plus visible condition is a much stronger record than one blurry photo of a stain.
Safe Access and a Clear Scan Path
Move rugs, laundry baskets, stored boxes, and furniture that block likely leak zones. Open sink cabinets. Pull curtains away from exterior walls. If there’s a removable access panel behind a tub or near plumbing, use it, but only if you can do so without damage.
Do not climb into unsafe attics, walk unstable roof areas, or probe around electrical panels with a thermal camera in one hand and guesswork in the other. Non-invasive is the point here. If a space is hard to reach, dark, contaminated, or structurally questionable, stop there.
Conditions That Improve Accuracy
Thermal scans get better when the environment is boring. Stable indoor temperature, limited airflow, no direct sun, and a recent event that gives you useful contrast all help.
That matters in Louisville. Our seasonal humidity swings, quick rain events, older wall assemblies, and mixed heating and cooling habits can make thermal images noisy. Weather conditions and indoor humidity can affect thermal readings, so patience pays off. You’ll get cleaner results early in the morning, in shaded conditions, or after the house has held a steady temperature for a few hours.
Step 1: Know What Hidden Wet Looks Like on a Thermal Camera
Before you scan, know what you’re scanning for. Moisture usually changes how a surface gains or loses heat, so the wet area often appears cooler than surrounding material. Sometimes it appears warmer, especially around hot water lines or when the wet material is holding heat differently than the dry area around it.
- Turn on the camera and look at a few clearly dry surfaces first.
- Notice how studs, corners, vents, and windows already create normal temperature variation.
- Look for irregular areas that do not match the building’s normal layout.
- Treat unusual shapes as suspect, not confirmed.
Checkpoint: a good start means you can already tell the difference between a straight framing pattern and a random patch that deserves a closer look.
Why Wet Materials Change Surface Temperature
Water-damaged materials conduct heat differently than surrounding areas, which is why hidden moisture shows up as a thermal anomaly. Wet drywall, plaster, wood, insulation, and flooring often cool through evaporation, or transfer heat at a different rate than dry material nearby.
In plain English, wet spots tend to behave differently enough that the surface above them looks off. Not dramatic, necessarily. Just off. That’s why sensitivity matters, and why slower scanning usually beats rushing.
Common Leak Signatures in Walls, Ceilings, and Floors
Certain shapes show up again and again. Top-down triangular patterns on walls can point to water entering around a window or running downward from above. Ceiling moisture is often less tidy, more like an uneven cool blotch. Around plumbing, you may see a vertical trail under a supply line, a cooler ring around a stain, or a temperature shift along a baseboard where water has traveled and pooled.
On floors, especially over crawlspaces or slab areas, leaks can show as irregular cool patches, line-shaped anomalies over a pipe route, or damp edges where flooring meets a wall. In flood or seepage conditions, water can wick up walls and create upward moisture patterns. That pattern matters because it points to the likely source category, not just the wettest-looking spot.
What Can Mimic a Leak on Thermal Images
False positives are common. Missing insulation, air leaks, HVAC ducts, sunny walls, recessed lights, electronics, and framing can all create patterns that look suspicious. Insulation gaps or electrical issues can create temperature anomalies that mimic moisture.
So get in the habit now: every anomaly needs confirmation. Always.
Step 2: Pick the Right Time and Conditions for the Scan
Timing can make a mediocre camera look better, or make a great camera look useless. Your goal is not maximum drama in the image. Your goal is useful contrast with as little environmental interference as possible.
- Pick a time when the suspect area is shaded or has not been recently heated.
- Keep indoor temperature steady for a few hours if possible.
- Scan soon after leak-related water use, rain, or the suspected event.
- Avoid scanning right after opening windows, running hot showers for unrelated reasons, or moving space heaters around.
Checkpoint: if the wall is still warming from sun or the room feels drafty, wait. You’re likely to get a confusing image.
Avoid Direct Sunlight and Recently Heated Surfaces
A west-facing wall after a sunny Louisville afternoon can fool you fast. Surface heat lingers, and as it dissipates, the wall may show odd zones that have nothing to do with moisture. The same goes for ceilings under hot attics and floors near south-facing windows.
Early morning, evening, or full shade is usually better. If you’re scanning indoors, give recently heated surfaces time to settle down. Patience here saves a lot of second-guessing later.
Use HVAC Carefully to Create Stable Contrast
Steady indoor cooling or heating can help hidden wet stand out. FLIR advises manually adjusting image settings for moisture work after creating usable contrast, often with a 10°C or 20°C span, but that only works well if room conditions are reasonably stable.
- Set the thermostat to a normal occupied setting.
- Let the system run long enough to stabilize the room.
- Keep doors and windows closed during the scan.
- Avoid blasting one room with extreme heat or cold.
You want consistency, not extremes. In most homes, normal HVAC operation is enough.
Consider Recent Leaks, Storms, or Active Water Use
If you suspect a supply line leak, scan after using the fixture that feeds that line. Creating stronger thermal contrast by flushing potentially leaking pipes with hot or cold water before scanning can improve results. If you suspect a roof leak, scan during rain if it’s safe and accessible, or soon after. If you had a sewage backup or overflow that was cleaned up, remember the surface may already be drying, which can soften the pattern.
That softer pattern doesn’t mean the problem is gone. It just means you need to compare more carefully and confirm with a meter.
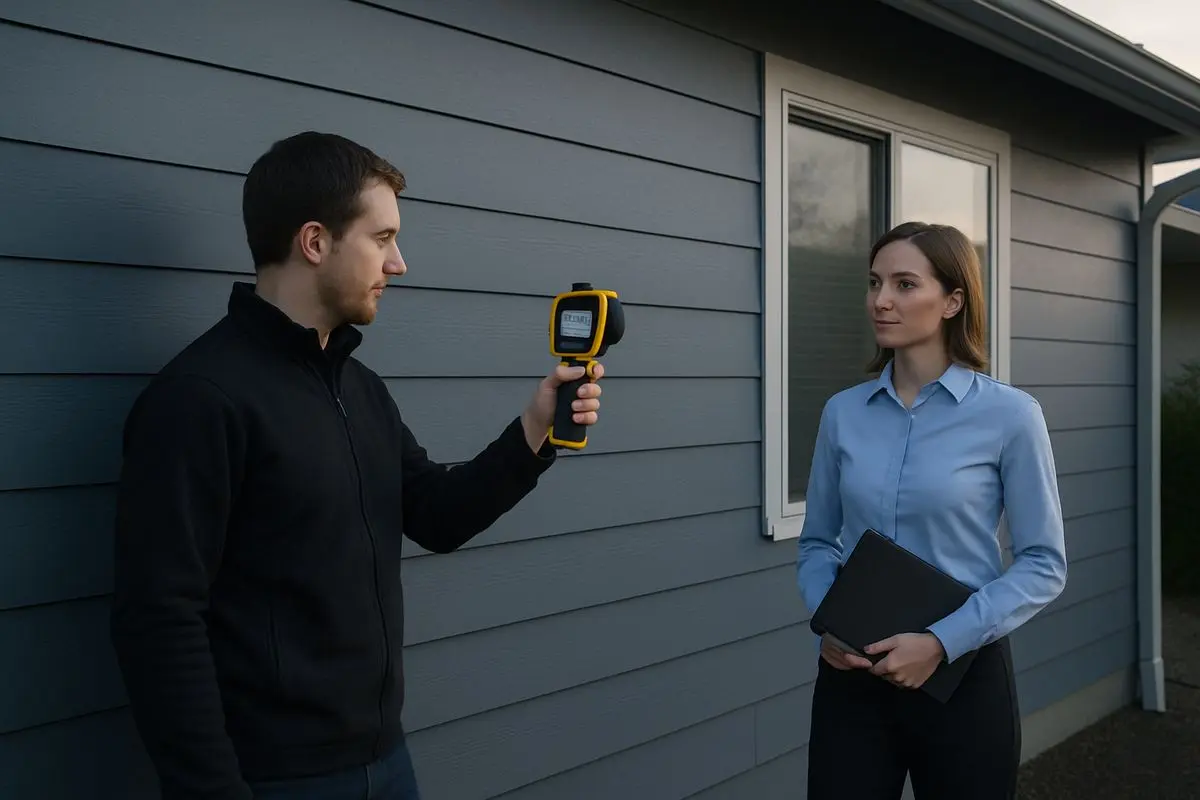
Step 3: Set up the Camera so You Can See Subtle Differences
A lot of bad scans come from bad settings, not bad cameras. Moisture signatures are often subtle, so you need the image tuned to show subtle differences instead of giant temperature ranges.
- Let the camera acclimate to indoor conditions for a few minutes.
- Set a narrower temperature span if your camera allows manual control.
- Pick one palette and stick with it.
- Focus carefully and keep your viewing angle as square as possible.
- Use visible-light overlay if available.
Checkpoint: when the setup is right, small anomalies near trim, pipe routes, and stains should stand out more clearly against nearby dry surfaces.
Adjust the Temperature Span for Moisture Work
This is one of the biggest beginner mistakes. If your camera is trying to display a huge temperature range, the moisture pattern may fade into the background. FLIR recommends manually adjusting level and span to about a 10°C or 20°C span so small moisture-related differences become easier to see.
Think of it as increasing image contrast. You are not changing the building. You are making the camera display more honest for this specific task.
Choose the Right Palette and Image Mode
Fancy rainbow palettes look impressive, but consistency matters more than style. Pick the view that helps you compare areas clearly. Many people find grayscale or iron-type palettes easier for moisture work because the edges read more clearly.
Then stick with that palette during the scan. If you keep changing colors, you’ll spend more time reacting to color drama than reading the building.
Check Focus, Distance, and Angle
Blurry thermal images hide small clues. So do steep angles and long distances.
- Stand close enough to fill the frame with the area you care about.
- Focus until edges around trim, fixtures, or stains look sharp.
- Scan slowly, not in quick sweeping motions.
- Re-scan suspicious areas from a straight-on view.
- Compare the anomaly with a nearby dry section from the same distance.
Good news, this part gets easier within minutes. Once you slow down, you’ll start seeing more.
Use Visual Overlay If Your Camera Offers It
A blended thermal and visible image is extremely helpful. It helps you connect the anomaly to the actual wall, vent, plumbing fixture, window corner, or ceiling penetration in front of you.
That makes your documentation better too. If you later need a roofer, plumber, or adjuster to understand what you saw, the overlay image usually tells the story faster than a pure thermal image alone.
Step 4: Scan the Most Likely Leak Zones First
Random scanning wastes time. Water problems usually follow predictable locations, so start where leaks are most common and work outward.
- Scan bathrooms.
- Scan kitchens and laundry areas.
- Scan ceilings below known plumbing.
- Scan roof-related ceilings and upper exterior walls.
- Scan windows, doors, basements, and foundation-adjacent walls.
- In rentals or small commercial spaces, scan utility rooms and tenant complaint areas first.
Checkpoint: by the end of this pass, you should have a short list of suspect zones, not twenty random cold spots.
Bathrooms, Kitchens, and Laundry Walls
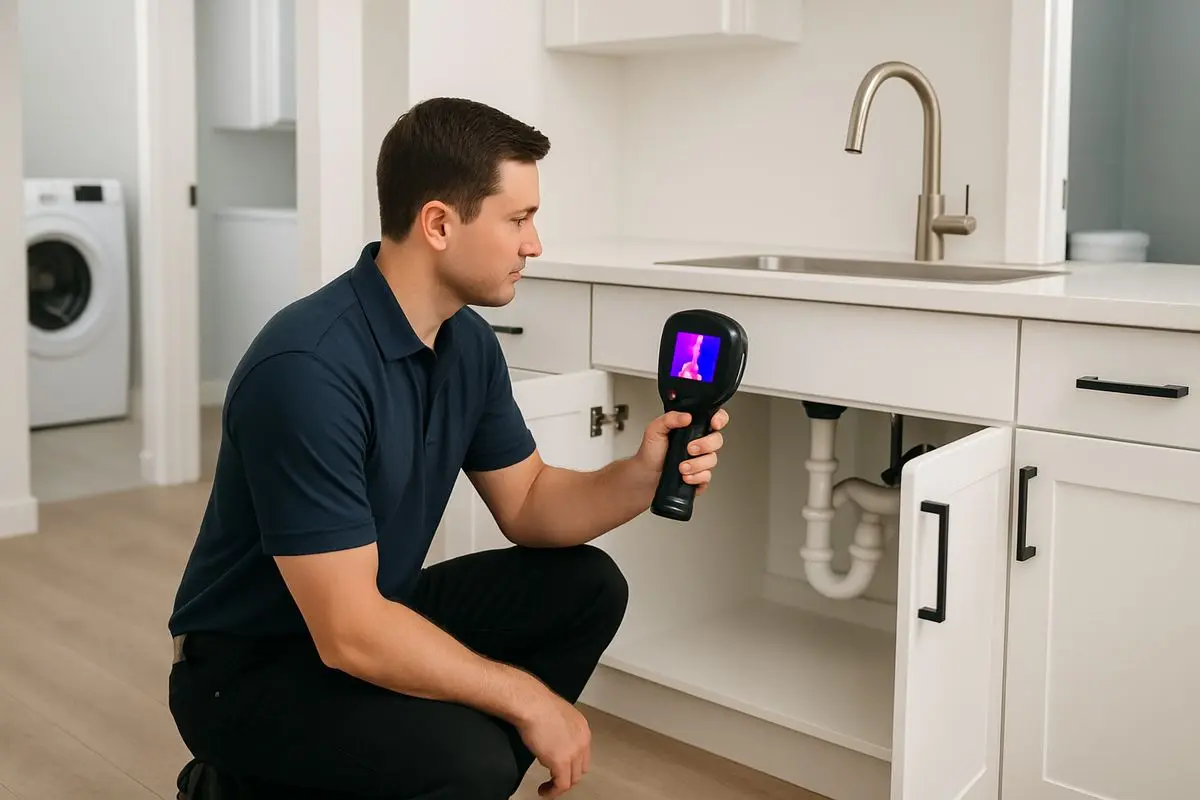
These are your highest-probability areas. Focus on shower valve walls, tub surrounds, toilet supply lines, sink bases, dishwasher connections, refrigerator water lines, and washing machine hookups. Scanning slowly and evenly around bathrooms, kitchens, and spaces near pipes improves the chance of finding temperature anomalies.
In bathrooms, look below and beside fixtures, not just directly behind them. Water often escapes at a fitting and travels along framing before it shows. Under sinks, scan the cabinet wall, sidewalls, and floor junctions. In laundry areas, don’t ignore the wall behind the washer box and the floor right in front of the machine.
Ceilings Below Bathrooms, Roof Penetrations, and Attic Lines
A stain on a first-floor ceiling under a second-floor bathroom is obvious. Less obvious is the stain several feet away because water ran along a joist before dropping down. The same logic applies to roof leaks around vent boots, valleys, skylights, and chimney intersections.
Ceiling anomalies tend to be broad and uneven. Ceiling leaks often spread in a less structured shape and usually appear darker and cooler on thermal images. Scan past the visible stain in all directions.
Exterior Walls, Windows, Doors, and Basements
Storm intrusion and masonry moisture are common trouble spots here, especially in older Louisville housing stock. Window corners, sills, brick-to-frame transitions, door thresholds, and below-grade basement walls deserve a careful pass.
On walls below windows, a top-down cooling pattern can suggest failed sealing or flashing. In basements, watch for lower-wall anomalies that rise upward, which can suggest seepage or wicking rather than a plumbing leak. Mixed-material buildings can be tricky because air leakage and moisture intrusion often overlap, so confirmation matters even more.
Commercial and Rental Trouble Spots
Small commercial and multi-unit properties have their own repeat offenders: water heaters, janitor closets, break rooms, flat roof edges, sprinkler lines, and any unit with recurring maintenance calls. In occupied rentals, scan around the complaint first, then check the unit above, adjacent walls, and shared plumbing chases.
This is where documentation becomes especially valuable. If the problem spans units or trades, clean images and moisture readings help everyone stop arguing and start fixing.
Step 5: Read the Thermal Pattern Before You Assume It’s a Leak
This is where most DIY scans go sideways. People find one cold spot and decide they’ve solved it. Slow down. Pattern and context matter more than a single color patch on the screen.
- Compare the suspect area with nearby normal surfaces.
- Look for shapes that match water movement or building layout.
- Consider the likely source path.
- Decide whether the pattern looks active, old, or simply suspicious.
- Confirm before making repair decisions.
Compare the Suspicious Area to Nearby “normal” Surfaces
A thermal image is much easier to read when you have a control area. Compare the suspect section with a similar nearby wall, floor, or ceiling that should be dry. Same material, similar orientation, same room if possible.
That side-by-side check reduces overreaction. What looked dramatic on its own may look ordinary once you see the next wall.
Look for Patterns That Follow Gravity, Plumbing, or Building Assemblies
Water likes gravity, capillary movement, and the path of least resistance. So trace the anomaly logically. Does it follow a plumbing line? Does it spread downward from a window? Does it run along a floor transition or across a ceiling joist bay?
This makes the image feel less mysterious. You stop chasing colors and start reading the building.
Separate Active Moisture From Old Damage or Drying Materials
A stain can stay visible long after the material has dried. A thermal anomaly can also linger during drying, especially if insulation is still damp or materials are cooling unevenly. There is no single best leak-detection method, and the right approach depends on the leak’s location, severity, and accessibility.
If the area looks suspicious but meter readings are low and no other clues support active water, you may be seeing old damage or a recently repaired area. That does not mean ignore it. It means document it, monitor it, and avoid tearing into the wrong spot.
Step 6: Confirm Hidden Wet With Moisture Testing and a Careful Visual Check
Here’s the rule that keeps people out of trouble: never open walls or file a claim based on thermal images alone. Thermal camera leak detection is powerful, but verification is what turns a suspicion into a finding.
- Test the anomaly with a moisture meter.
- Test the edges, not just the middle.
- Compare the reading to a nearby dry control area.
- Look for visible clues that support the thermal pattern.
- Document everything before conditions change.
Checkpoint: a confirmed area usually has a matching pattern, elevated meter readings, and at least one supporting visual or situational clue.
Use a Moisture Meter on and Around the Anomaly
Test the center of the suspect area, then the edges, then a nearby area that appears dry. Suspected leak areas should be confirmed with additional tools because airflow, sunlight, and other heat-related factors can also create anomalies that mimic moisture.
If the center reads high and the surrounding area tapers off, that supports the thermal image. If the area reads dry throughout, you may be looking at an insulation or airflow issue instead.
Check for Visible Clues Without Causing More Damage
Look for bubbling paint, raised baseboards, rusted fasteners, musty odor, warped hardwood, swollen laminate edges, stained grout, or corrosion around valves and escutcheons. Keep it non-invasive unless a qualified pro recommends opening the area.
That matters for insurance too. You want to document the condition, not make it worse before the cause is established.
Document Photos, Readings, Dates, and Location
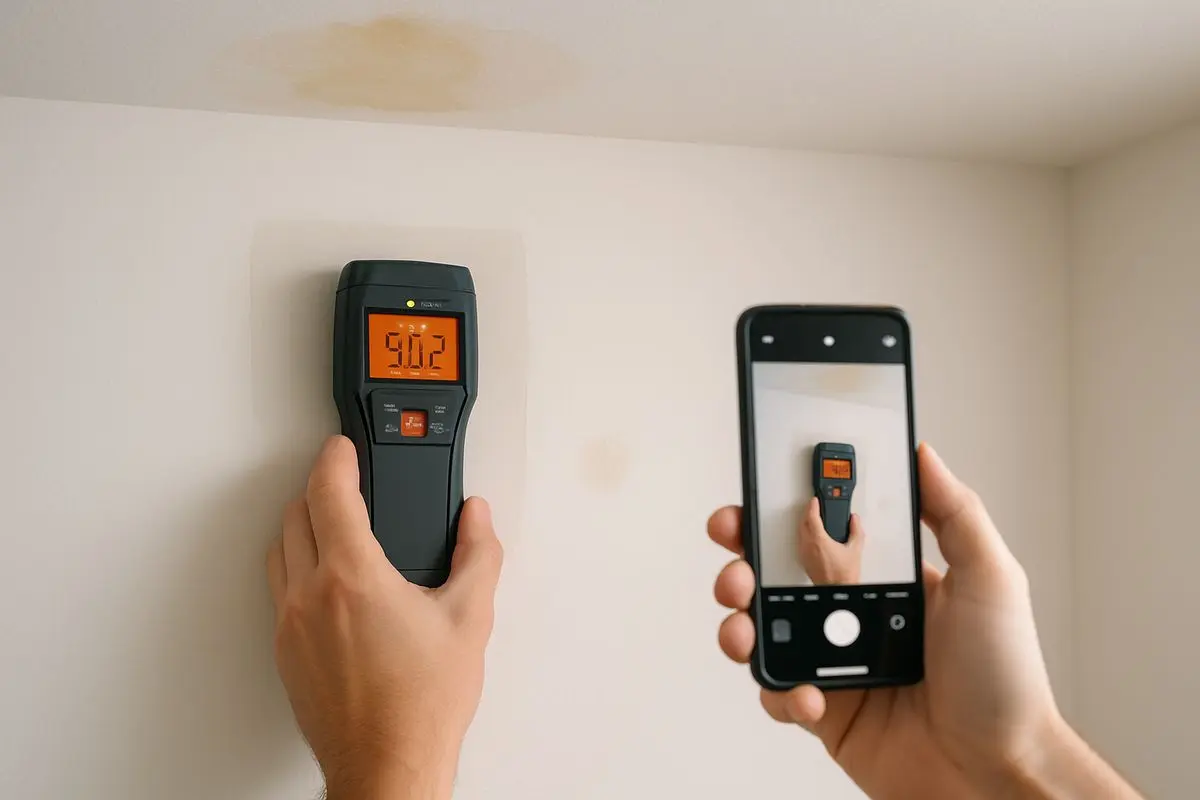
Take a visible-light photo, a thermal photo, and a close-up of the moisture reading. Note the room, wall orientation, height from the floor, date, and any recent event such as rain, overflow, or fixture use.
Documenting thermal images and data for records or insurance claims is a recommended best practice. Honestly, this can save a lot of back-and-forth later.
Step 7: Decide When to Stop DIY and Call a Professional
Some leaks are worth a careful DIY check. Others are worth a same-day call. Knowing the difference protects the property and usually saves money in the long run.
- Stop DIY if the leak appears active or spreading.
- Stop if sewage, storm intrusion, or electrical risk is involved.
- Stop if the source path is unclear and damage is growing.
- Stop if the area needs invasive tracing or controlled drying.
- Stop if documentation quality matters for a claim or dispute.
Signs the Leak May Be Active or Spreading
Recurring thermal changes, increasing moisture readings, soft drywall, ceiling sagging, fast-moving stains, or musty odor getting stronger are all warning signs. So is any water near electrical components.
Waiting is expensive. Small leaks become mold problems, flooring failures, insulation replacement jobs, and structural repairs faster than most owners expect.
When Thermal Imaging Is Especially Useful for Insurance-aware Documentation
Professional scans are helpful when you need a clear scope of loss, a drying plan, or before-and-after records after plumbing, storm, fire suppression, or sewage events. A trained team can pair thermal findings with moisture mapping, material classification, and drying verification.
That creates a cleaner paper trail. If you need to show what was affected, what was confirmed wet, and how conditions changed over time, professional documentation is much harder to argue with.
Why Pros Pair Thermal Tools With Meters, Pressure Tests, and Experience
Pros do not rely on one tool, and neither should you. Thermal cameras provide a non-invasive and efficient way to detect hidden leaks, but they work best as part of a larger process. That may include moisture meters, plumbing pressure tests, tracer methods, controlled opening, or drying equipment monitoring.
Experience matters because weird buildings do weird things. Older Louisville homes especially. Plaster, masonry, layered repairs, uninsulated cavities, and patched roof lines can all create patterns that look obvious until they aren’t.
Step 8: Take the Right Next Action After You Find Hidden Wet
Finding the wet area is only half the job. The next few hours matter, especially in humid conditions or when porous materials are involved.
- Stop the source if you can do so safely.
- Protect contents and nearby finishes.
- Match the problem to the right specialist.
- Keep documenting until the issue is stabilized.
Stop the Source If You Can Do It Safely
Shut off the fixture valve, the appliance feed, or the main water if needed. Catch drips with a container. Move furniture, rugs, boxes, and electronics away from the area. If the source is roof-related and rain is active, contain interior drips and protect contents rather than climbing onto a wet roof.
Safety first. Water and electricity do not negotiate.
Protect Materials That Are Likely to Worsen Fast
Drywall, hardwood, carpet pad, insulation, and paper-faced materials can deteriorate quickly, especially during humid Louisville summers. Air movement and dehumidification help in clean-water situations, but sewage-contaminated water, fire suppression runoff, or gray water changes the response completely. Those situations need professional handling and proper sanitation.
The faster you stabilize wet materials, the better your odds of avoiding mold growth and secondary damage.
Contact the Right Specialist for the Source
Call the trade that matches the cause, not just the symptom. Plumbing leak, call a plumber. Roof intrusion, call a roofer. Confirmed building wet and material damage, call a restoration contractor. Foundation seepage, call a foundation or waterproofing specialist.
Sometimes you need more than one. That’s normal. Source repair stops the leak, but it does not dry the structure by itself.
Troubleshooting Thermal Camera Leak Detection When the Image Is Confusing
Thermal images often look less obvious than people expect. That does not mean you’re doing it wrong. It usually means the image needs better conditions, better settings, or better context.
“Everything Looks Blotchy and I Can’t Tell What Matters”
This usually means your span is too wide, your focus is soft, or the room has too many competing influences. Narrow the temperature span, steady your camera, and compare the suspect area to a known dry section nearby.
Also, scan more slowly. Keeping the inspection area clear, considering ambient temperature and airflow, and scanning systematically for anomalies are all recommended for accurate thermal leak inspection. Random color noise gets easier to ignore once you have a baseline.
“I Found a Cold Spot, but the Moisture Meter Says It’s Dry”
That can happen with air leakage, ductwork, missing insulation, or a surface that recently dried. A temperature pattern that looks like moisture does not guarantee water is present.
Repeat the scan under steadier conditions. Check adjacent areas. Look for visual support. If the meter stays dry, don’t force a leak diagnosis just because the image looks interesting.
“The Leak Is Real, but I Can’t Find the Exact Source”
Water travels. It can run along framing, under flooring, across ceiling cavities, or down masonry before becoming visible. Thermal cameras can identify hidden leaks behind walls, ceilings, or floors, but they do not directly see water itself.
Trace backward from the wet pattern using gravity and building layout. Check above, upstream, and beyond the visible boundary. If the path gets complex, move to professional leak tracing or pressure testing.
“Sun, Rain, or HVAC Seems to Be Throwing Everything Off”
It probably is. Exterior walls, roofs, and upper ceilings are especially sensitive to weather and equipment effects. Reschedule for shade, stabilize indoor conditions, and scan again.
For difficult roof or exterior cases, experience matters more than gadget quality. Sometimes the right move is simply knowing when not to trust the image yet.
What a Successful Scan Should Give You, and What to Do Next
A successful scan does not need to hand you the exact failed fitting hidden inside the wall. What it should give you is something more practical: a short list of likely wet areas, a clearer idea of the moisture path, and documentation strong enough to decide on repair, drying, or professional help.
That’s a win. If your scan narrowed the problem from “somewhere in this side of the house” to one bathroom wall, one ceiling bay, or one basement corner, you’ve already saved time, mess, and guesswork. Confirm one more time if needed, then move quickly on the repair or mitigation. Hidden wet rarely gets cheaper by waiting.
Need Professional Help?
Don’t risk further damage to your property. Bear Restoration‘s IICRC-certified team is available 24/7 for emergency restoration in Louisville, KY and surrounding areas.

Read Our Reviews